Q. How easy is it to swap a Race Face CINCH chainring?
A. Easy enough to do trailside while you wait for that one friend that never gets to the ride meetup on time!
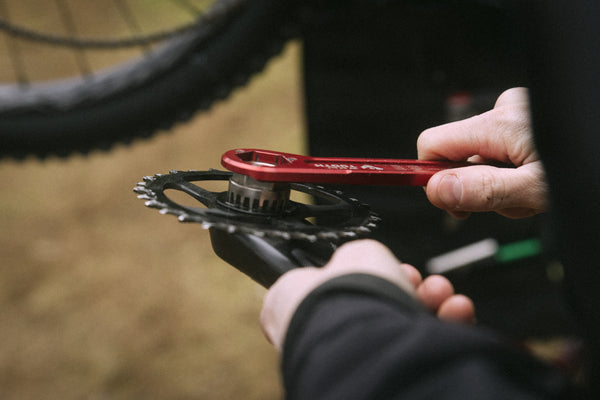
In our latest Trailside Tech, we're going to break down the basics of replacing the front end of your 1x drivetrain on your mountain bike cranks. We'll be teaching you how to remove your Race Face cranks, how to remove your chainring to swap/change/replace to a new chainring, and then how to re-install your cranks, all in 9 easy steps!
What You'll Need
While other chainring options might require more than a mittful of small finnicky tools, we’ve simplified things so that the RF direct mount chainring system requires just 4 things:
- - 2mm Allen key for the preload collar
- - 8mm Allen key for the drive side crank
- - Race Face CINCH tool (Pro Tip: Park Tool, Wolf Tooth or other 20T splined ISIS Style BB tools work great too!)
- - A fresh CINCH chainring
- - Optional: torque wrench
How It’s Done
1. After using the 2mm Allen key to loosen the preload collar bolt and backing it off, use the 8mm Allen key to remove the drive side crank.

2. With the crank removed, use the CINCH tool or 20T splined ISIS style BB tool to remove the lock ring. Put the old chainring in your stash for making throwing stars.

3. Check the threads on the crankarm and wipe clean, applying new grease is a great idea too.
4. Place the new CINCH chainring, replace the lockring and tighten to 40NM.

5. Wipe the spindle interface and apply new grease, replace the crankarm with that fresh new ring, ensure the cranks are lined up properly and tighten to 50NM.
6. Finger tighten the Preload collar again and close the bolt to 1.5NM
7. Pop the chain onto your fresh ring and you’re ready to ride.

8. Wait another five minutes while your buddy finishes gearing up.
9. Go shred.

